DIY Hammock
Starting a new DIY project always piques my interest as a coder - it's like tackling a new programming challenge. My latest endeavor was creating an 11-foot netless gathered-end hammock from scratch, optimizing it with some custom design tweaks. To get a solid foundation, I did a deep dive into over 50 hammock-related patents one afternoon, essentially auditing the codebase of prior art. So many fascinating implementations and experimental features to explore!
From there, I immersed myself in the hammockforums.net community, the open-source knowledge-base for this niche. I spent hours trawling through threads, extracting insights from veteran hammockers on best practices, anti-patterns to avoid, and new feature enhancements to consider. Definitely some gems in there amongst the version history!
With a solid architecture mapped out from my research, I was ready to start prototyping my optimized hammock build. Iterative development and bug testing in the real-world would commence.
Gathering Materials
For materials, I looked back at what I had used for my previous hammock prototype - the HyperD XL fabric and thread from ripstopbytheroll.com, some miscellaneous cordage from Amazon.ca, and a few components I already had on hand. Initially, I had planned to source everything directly from Dutchweargear.com for a streamlined supply chain. But after factoring in shipping fees and currency exchange rates, I decided to see if there was a Canadian supplier for the components.
After some research, I discovered a promising Canadian vendor - hofmanoutdoorgearsupply.ca. They stock a wide range of hammock, camping and MYOG (make your own gear) supplies. While they didn't carry the exact HyperD XL fabric, they did offer Hexon W from Dutchwear, which seemed to be an optimized fabric designed specifically for hammocks.
After some research, I discovered a promising Canadian vendor - hofmanoutdoorgearsupply.ca. They stock a wide range of hammock, camping and MYOG (make your own gear) supplies. While they didn't carry the exact HyperD XL fabric, they did offer Hexon W from Dutchwear, which seemed to be an optimized fabric designed specifically for hammocks.
My hammock "tech stack"
- Hexon W fabric
- Gutterman Mara Thread
- Tree Straps & Buckles*
- 7/64" Amsteel Ridgeline & Suspension*
- Pack Hooks
- Line Locks
- Line Lock Hooks
- Cord Locks
- 1/8" Shock Cord
- HWMPE Guy Line
- 1/2" Grosgrain
- 1" webbing
With my updated supply chain and tech stack selected, I could proceed to the next phase of building and integration...
Crafting the Hammock Body

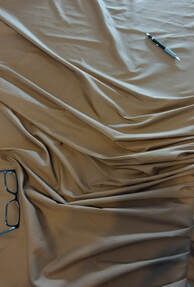
With the fabric acquired, I carefully measured and cut it to 11'5" including seam allowances to achieve the desired 11' finished length. Applying tips that I learned after my last build, I marked fold-to guides along all edges - 1" rolled hems on the ends and 1/2" hems on the sides.
Knotty Mod Prep
At 2' and 4.5' from the foot end on each side, I marked buttonhole reinforcements where the shock cords would anchor for the Knotty Mod, deviating slightly from standard implementations.
Knotty Mod Prep
At 2' and 4.5' from the foot end on each side, I marked buttonhole reinforcements where the shock cords would anchor for the Knotty Mod, deviating slightly from standard implementations.
Gear Attachment Points
The centers of each end were marked for larger buttonholes to attach a structural ridgeline internally and grosgrain webbing loops to accommodate gear hooks.
The centers of each end were marked for larger buttonholes to attach a structural ridgeline internally and grosgrain webbing loops to accommodate gear hooks.
Sewing Process
Swapping between machine setups, feet, retensioning, and replacing a couple bent needles, we finally mastered the automatic buttonhole feature to install all 6 reinforcements. A team effort with my wife and daughter! Note: Make the ridgeline hole 3/4" not 1/4" next time.
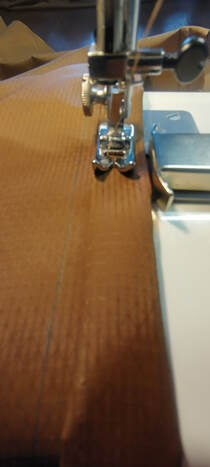
Hemming went smoothly once edges were folded and pinned to ensure everything was aligned and to position the buttonholes correctly. The ends required sewing in the grosgrain loops, using some surplus 3/4" military webbing I had lying around (500' for some reason?), instead of standard 1/2" for added durability. The triple parallel stitching for the end channel was hard to not fully OCD over. While not required for whipped ends, I included a 1" channel to allow experimenting with different suspension systems later on.
Once it was all hemmed, I began adding the tie out points and a few attachment point loops along the edges using 3" sections of the 1/2" grosgrain. I pulled some 1/8" shock cord through the channel created in each side to form the Knotty Mod. The shock cord was anchored to a grosgrain loop at the foot end, and to a Line Lock sewn into another grosgrain loop near the middle of the hammock. I added one to each side to test out options for different diagonal laying positions.
Swapping between machine setups, feet, retensioning, and replacing a couple bent needles, we finally mastered the automatic buttonhole feature to install all 6 reinforcements. A team effort with my wife and daughter! Note: Make the ridgeline hole 3/4" not 1/4" next time.
Hemming went smoothly once edges were folded and pinned to ensure everything was aligned and to position the buttonholes correctly. The ends required sewing in the grosgrain loops, using some surplus 3/4" military webbing I had lying around (500' for some reason?), instead of standard 1/2" for added durability. The triple parallel stitching for the end channel was hard to not fully OCD over. While not required for whipped ends, I included a 1" channel to allow experimenting with different suspension systems later on.
Once it was all hemmed, I began adding the tie out points and a few attachment point loops along the edges using 3" sections of the 1/2" grosgrain. I pulled some 1/8" shock cord through the channel created in each side to form the Knotty Mod. The shock cord was anchored to a grosgrain loop at the foot end, and to a Line Lock sewn into another grosgrain loop near the middle of the hammock. I added one to each side to test out options for different diagonal laying positions.
Ridgeline and Suspension

Suspension
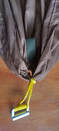
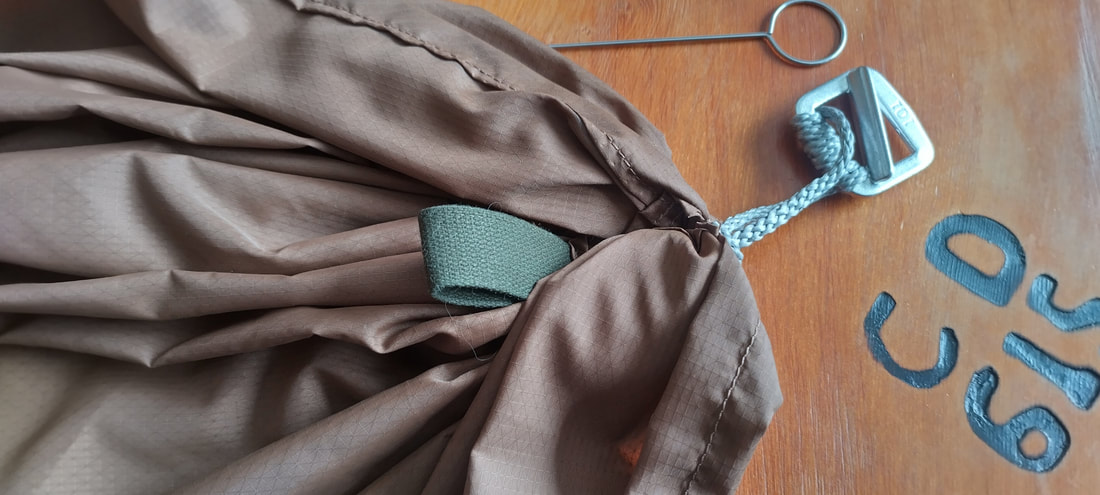
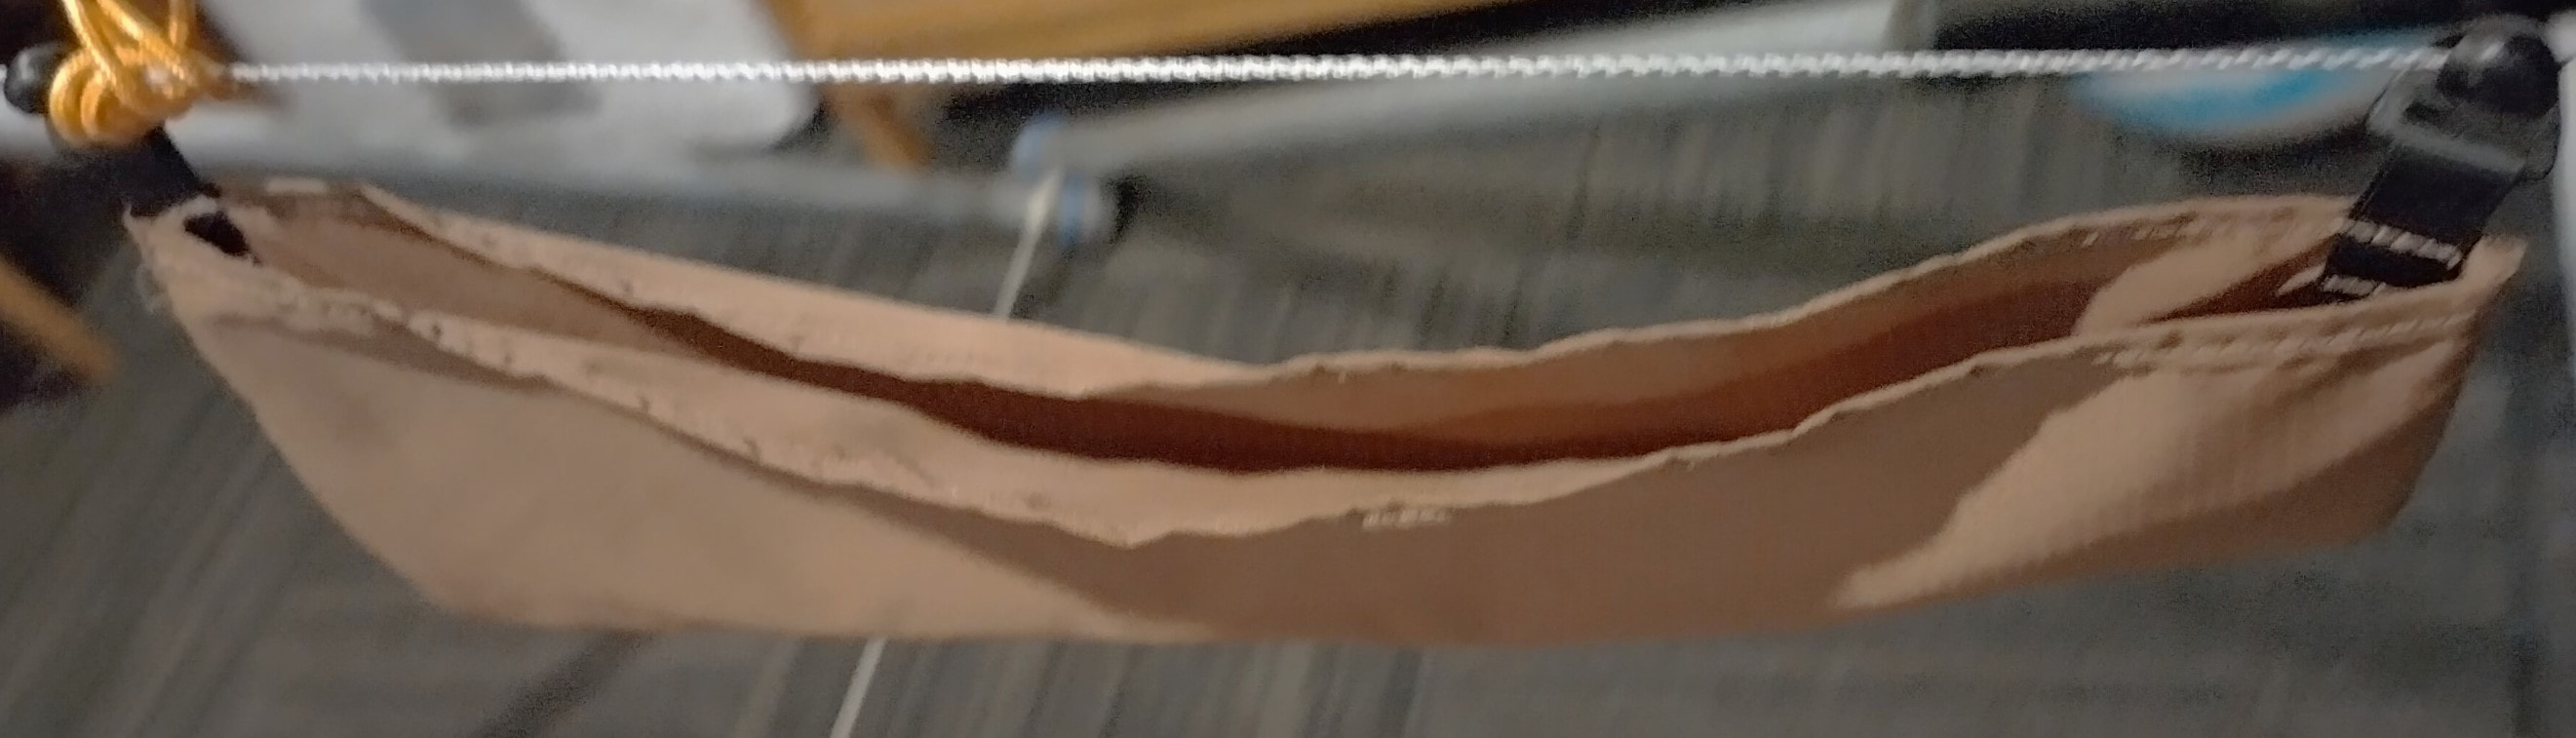
Having tried a number of different suspensions, I've found I like the ones that are simple, fully adjustable, don't take up a lot of room, require as little "hardware" as possible, and are quick to set up and take down. Most suspensions, I've played with, require at least 2 connect/disconnect points on each end, and you wind up with multiple bits that need to be stored or put together each time. For this hammock, I was looking for something as simple as possible. Originally I was going to go with beetle buckles and a Dutch clip with a tree strap and continuous loop. However, with buying things from Hofman instead of Dutchwear and wanting to keep costs down I went with cinch buckles, continuous loops, tree straps, and a soft shackle.
Feeding the continuous loop attached to the cinch buckle through the end channel made for a simple connection to the hammock.
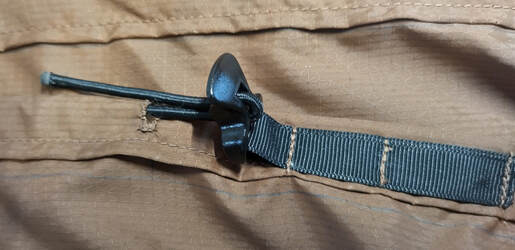
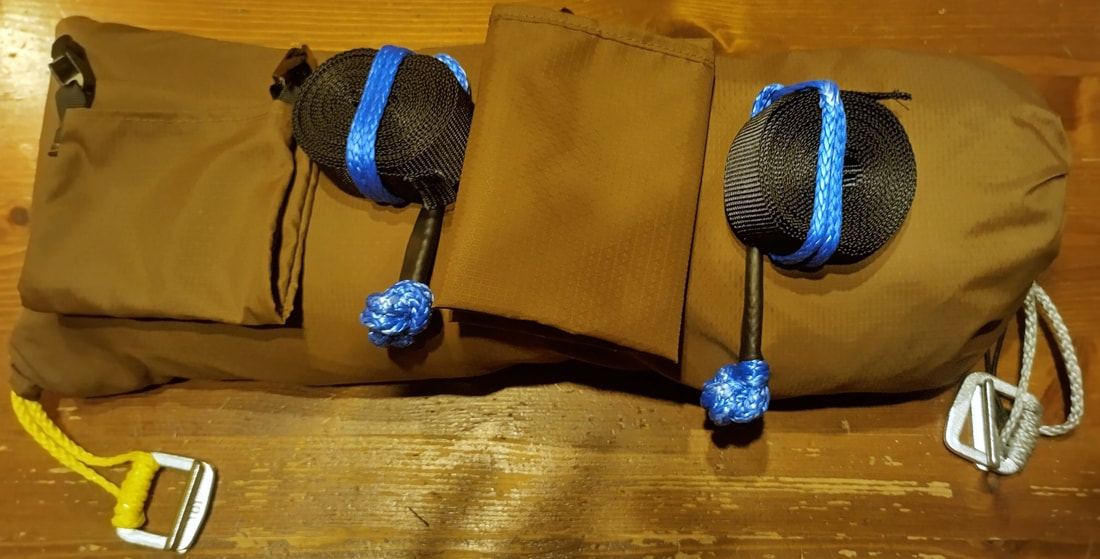
The cinch buckle makes it very easy to adjust the suspension, and is lite and small. To solve for all of the connecting and disconnecting every time, as well as to speed things up I leave the tree strap connected to the cinch buckle all the time. Instead of looping the end of the line through the loop at the other end of the tree strap, I simply use a soft shackle to connect the two. This seems quite simple and fast for me now, and enables a cleaner setup, without straps or hammock ending up on the ground. Great for setting up in places where there is mud, wet sand, thorn bushes, or anything else you don't want to have to deal with cleaning up.
Ridgeline
I've been using various types of ridgelines for quite a while. Before I knew what they were or why they were, I added one on to my first hammock as it made setup a lot simpler and more consistent. After reading of the different types, pros and cons for each, I tested out a number of styles, and, after much experimentation, found that a fixed structural ridgeline worked best for me.
I "discovered" Amsteel rope a while ago, and it is exrtemly useful for lightweight hammock setups. I've made a number of ridgelines with it, so set about making one for the new hammock. I measured the final length of the hammock after gatheirng the ends, and made a ridgeline with locked brummel loops at each end. For my liking and after a few experimental naps in the hammock my ridgeline is 85.8".
To connect the ridgeline to the continuous loop, I used a lark's head from the end of the ridgeline, through the buttonhole in the center of the hammock end channel to connect it to the continuous loop. The buttonhole I had sewn was only 1/4", and should have been larger. It was quite a chore getting it connected. For the other end I used a small soft shackle so that I can disconnect to add things like permanent ridgeline organizers or things of that sort.
Fashioning the Bishop Bag
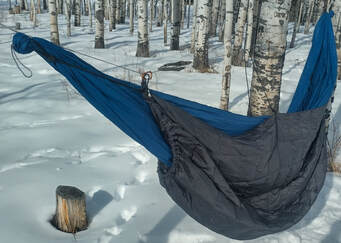
No hammock is complete without a convenient storage solution, so I whipped up a bishop bag to hold it all together. A bishop bag is perfect for stowing away my hammock and makes it easy to keep everything off the ground and accessible. I made it large enough to store the hammock, suspension, an underquilt and a bugnet. (more on these sometime later).
The Final Touches
n old all-in-one hammock I have had 4 small pockets, one on each side at each end, about 1' from each end. I found these very useful for keeping things close at hand, without having them wind up in the bottom of the hammock, and without having them hanging on the ridgeline. I had some fabric left over, and some clips intended for tarp tie outs, so I made a couple of pockets. The clips allow for them to be positioned wherever they are needed.
With the last bit of fabric I made a simple ridgeline bag as well using the pack clips.
With the last bit of fabric I made a simple ridgeline bag as well using the pack clips.
Enjoying the results
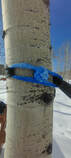
Since the weather outside is typical Alberta spring (i.e. 10 inches of snow and -14 C) I had to setup a tensahedron stand made out of old army surplus antenna mast poles in the basement. (I'll post some info about that, as well as some plans for a smaller, packable aluminum one soon!)
 RSS Feed